How to Build a DIY Wine Rack
Your DIY Guide to a Custom Wine Rack
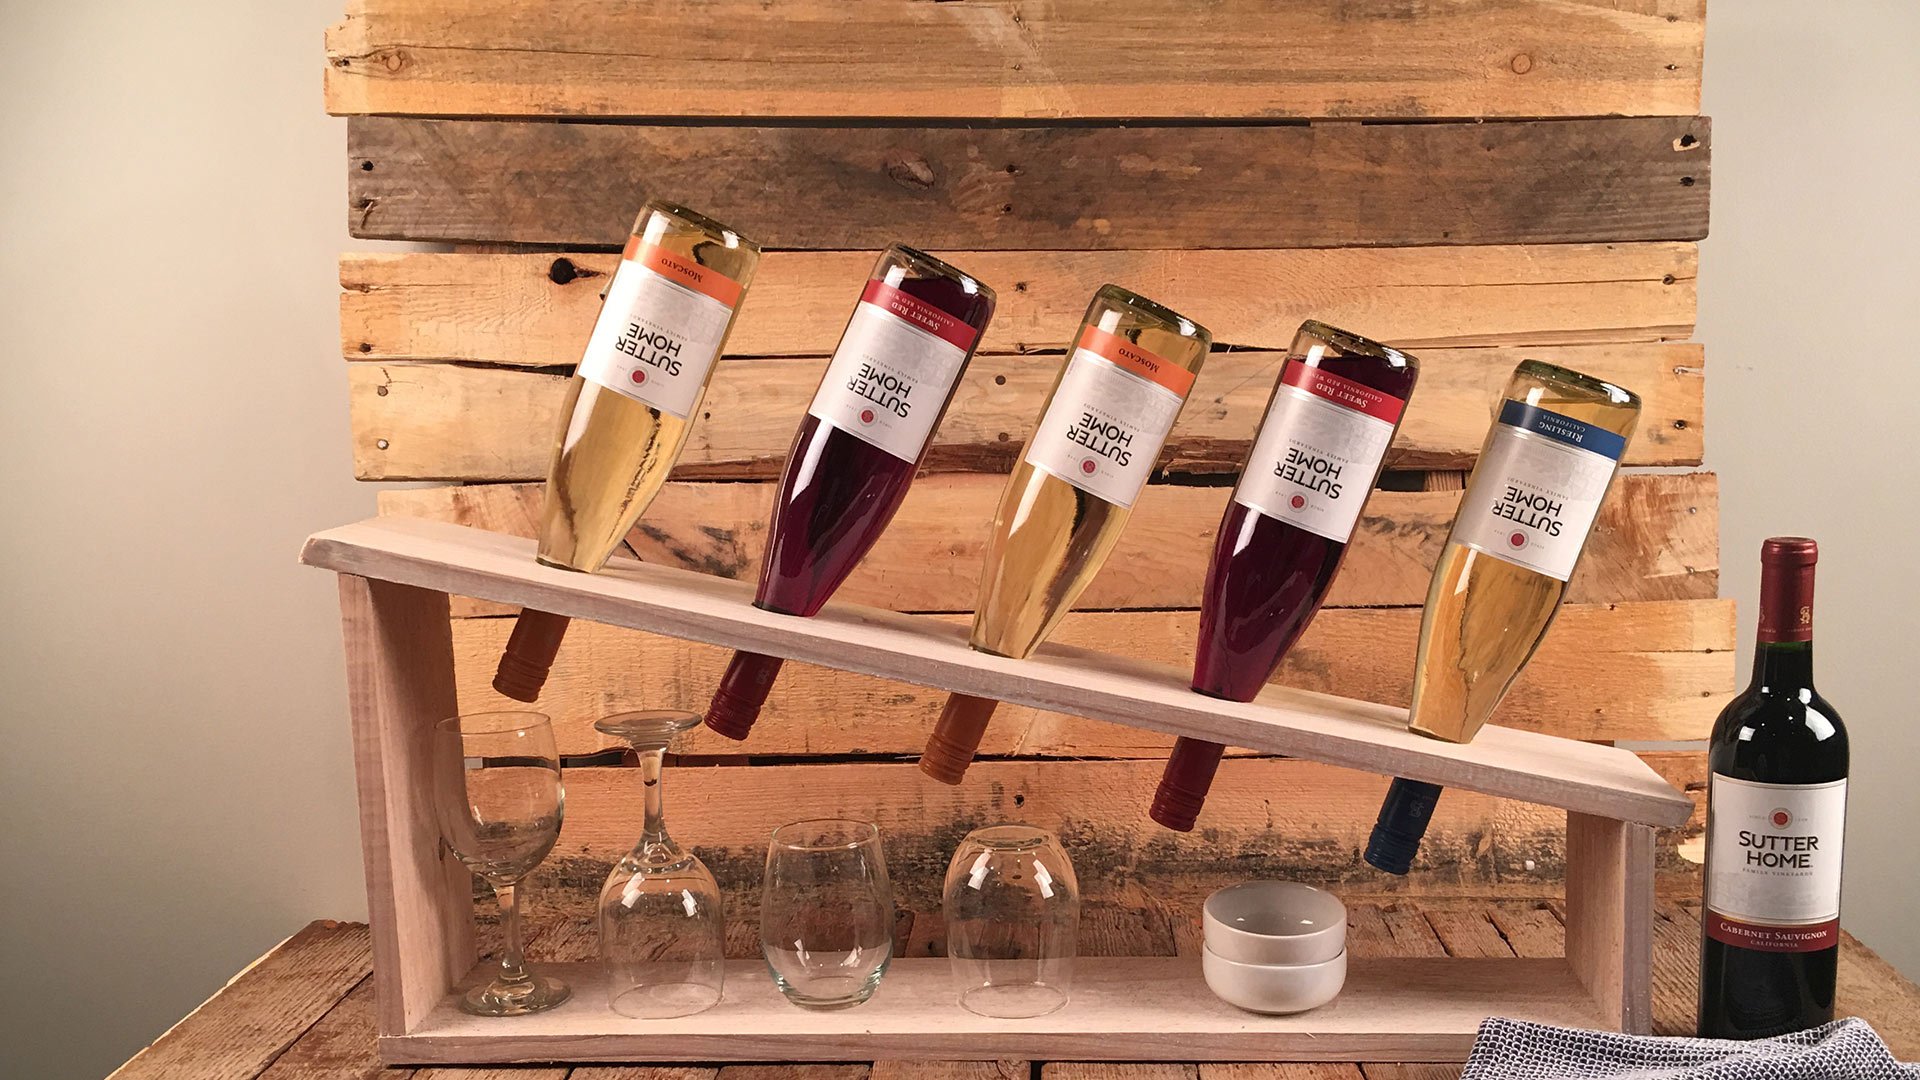
If you enjoy DIY projects, here’s one that’s as much fun as it is practical — a charming wine rack. It’s a wonderful way to display your building skills and your favorite wines. Traditionally, storing wine horizontally on a rack served two purposes: First, it helps keep the cork from drying out. Second, it’s a space-saving way to stash your wine. We’re adding a third to that list: Wine racks make handsome home accents for bars, dining rooms and are perfect for every back porch get together with friends and family. Bring out your Sutter Home Wine bottles and put them in the spotlight with your very new hand-crafted DIY wine rack.
What you’ll need to get started:
- Two, 5 foot – 2×6 Oak boards
- Favorite stain
- Sandpaper
- Wood Glue
- Nail gun
- Table Saw
- Tape measure
- Pencil
Follow these easy steps to DIY success:
- Measure 2×6 Oak Wood Boards.
- Cut two 5 FT. boards: one for the top and the bottom of the wine rack.
- Cut two side board pieces: high enough for your favorite wine glasses.
- Cut boards on table saw, angling the top of the side pieces so the top board will sit flush.
- Glue the pieces together: then use a nail gun to put two nails in each side.
- Sand down rough edges
- Apply your favorite color of stain using the right the correct stain brush.
- Wait overnight.
- Insert bottles and display with pride.
